


The eight best tips for adjustable art systems you'll read this year
If we may be so bold, we have some great tips regarding adjustable art systems. So great, in fact, that they may just be the best eight tips you see all year.
The first thing you need to do is choose an art hanging system. Ceiling mounted systems are great for walls with mirrors, stone, marble, or another precious feature. Wall-mounted systems are better suited for heavier items.
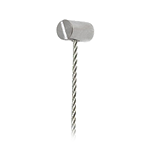
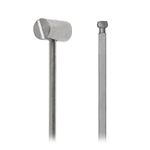
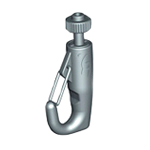
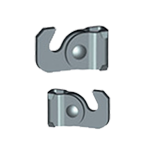
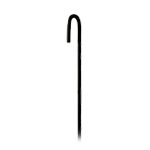
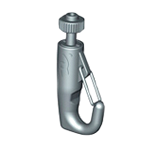
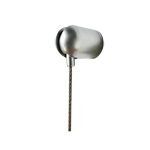
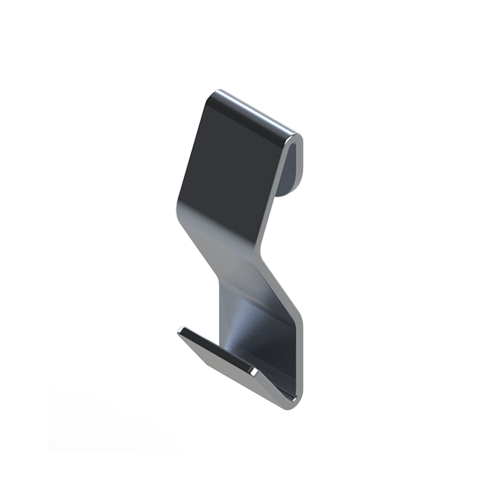
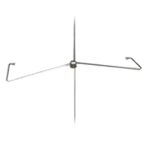
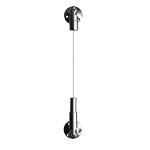
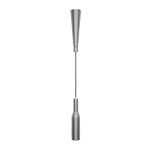
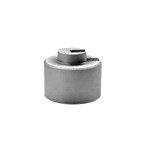
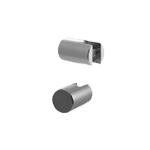
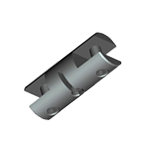
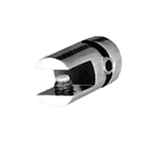
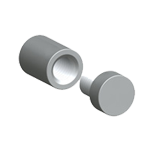
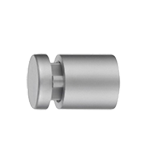
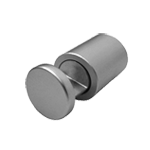
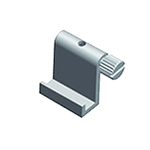
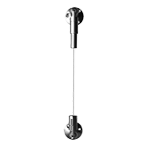
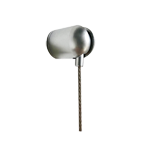
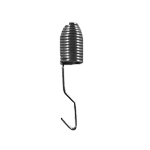
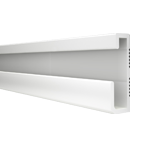
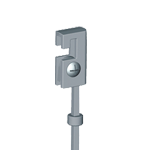
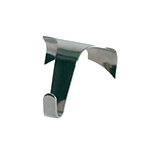
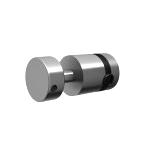
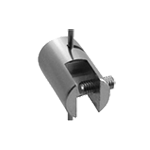
Once you decide on which display system is right for you, choose the appropriate hardware. To hang pictures you're going to need three things: a rail, a hanging cable or rod, and a cable or rod hook. Stainless steel and nylon cables coincide cable hooks, while aluminum and stainless steel hanging rods pair with rod hooks. Basically, you take the cable or rod route in conjunction with a rail.
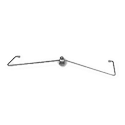
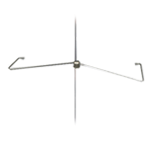
Let's discuss the difference between a hanging rod and a cable hanger. Hanging rods are what you see in museums. They are the favorite. Cable hangers are chosen for a more modern approach and can only hold up to 40 lbs on one single stainless steel cable.
Nylon or stainless steel cables? The nylon cable is virtually invisible and can only support 15 lbs of weight. The stainless cable is slightly more detectable, but can hold artwork up to 40 lbs. It's looks verses strength.
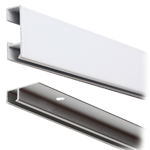
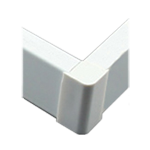
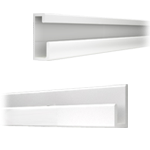
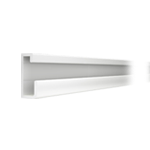
How much rail do I install? Well, it's up to you. You can hang rail just above the area you want the art to hang, or you can hang rail the entire length of the wall. For symmetry and moving options, it's best to hang rail the entire length of the wall. Be sure to purchase additional rail if you plan to connect the rails in the corners of your walls. Connecting rails in the corners requires a perfect 45 degree angle cut.
You can easily calculate how many rods or cables you're going to need based on the number and size of the objects you plan to hang from the rail. Typically, you'll need three cables or rods per rail.
Customize your rail colors. We do offer rails in silver, white, and black. You can paint your rail to match your decor. However, we don't recommend painting the rods. Movement from the rods will cause paint to flake off.
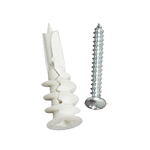
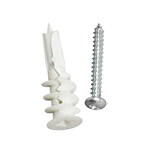
Tips concerning installation include difficulty, time, and tools. Installation is pretty straightforward. Just drill holes in the wall or ceiling, insert anchors into the drilled holes, then screw the rail to the anchors in the wall. Rail installation takes about 20 minutes for a person with average home improvement skills. This process should only require three tools: a drill, a drill bit, and a screwdriver. However, you may need additional tools based on individual circumstances.
To talk more about this, or anything else, please contact us. Thanks.